If you’re on the hunt for a stunning and dependable springtime perennial that’ll add a touch of delicate beauty to your garden, then look no further than irises!
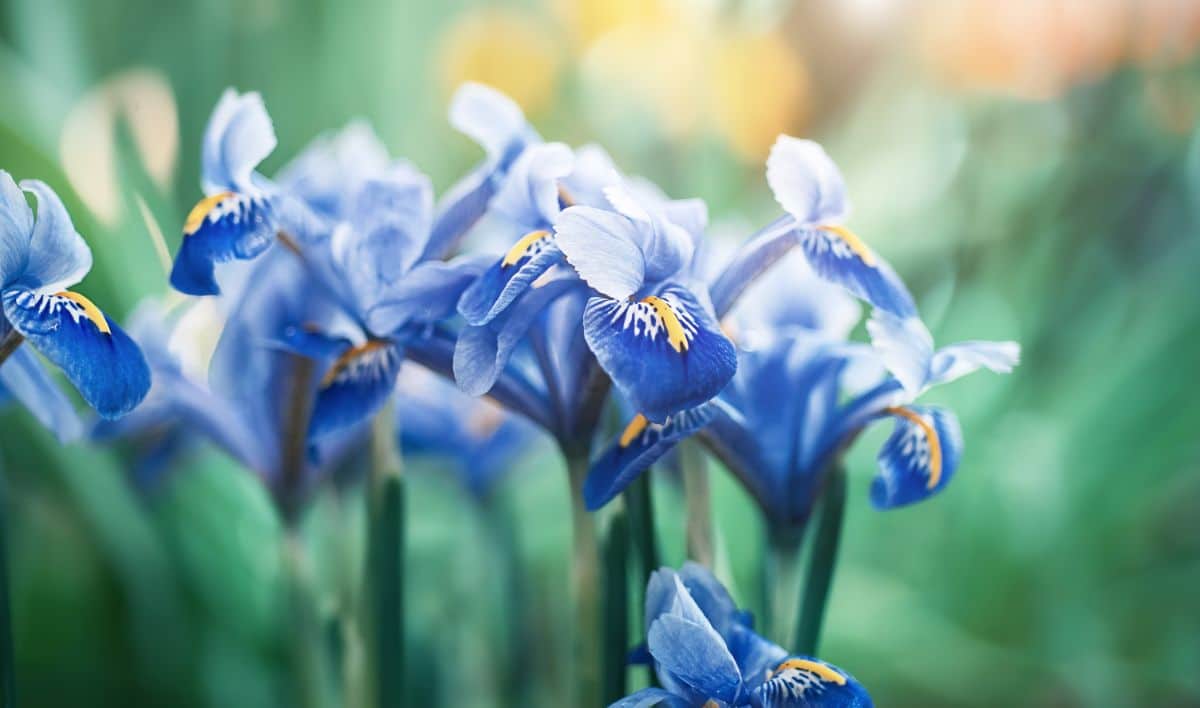
Irises are a beautiful type of flower that blooms when not many other plants are in season. These perennials grow from bulbs and rhizomes, and are instantly recognizable due to their unique appearance. This guide will provide all the information you need to start growing your very own irises. You can easily navigate to the specific section you’re interested in using the table of contents below or continue reading for the full guide. Learn about the basics of irises, where they grow, why they’re worth growing, landscaping ideas, recommended varieties, where to buy them, when they bloom, how long they bloom for, when to plant them, and how to care for them. We’ll also provide tips on pruning, dividing, and transplanting irises, as well as ways to protect them from diseases and pests. Lastly, we’ll share some plant combinations that pair well with irises and answer some frequently asked questions about growing these stunning flowers.
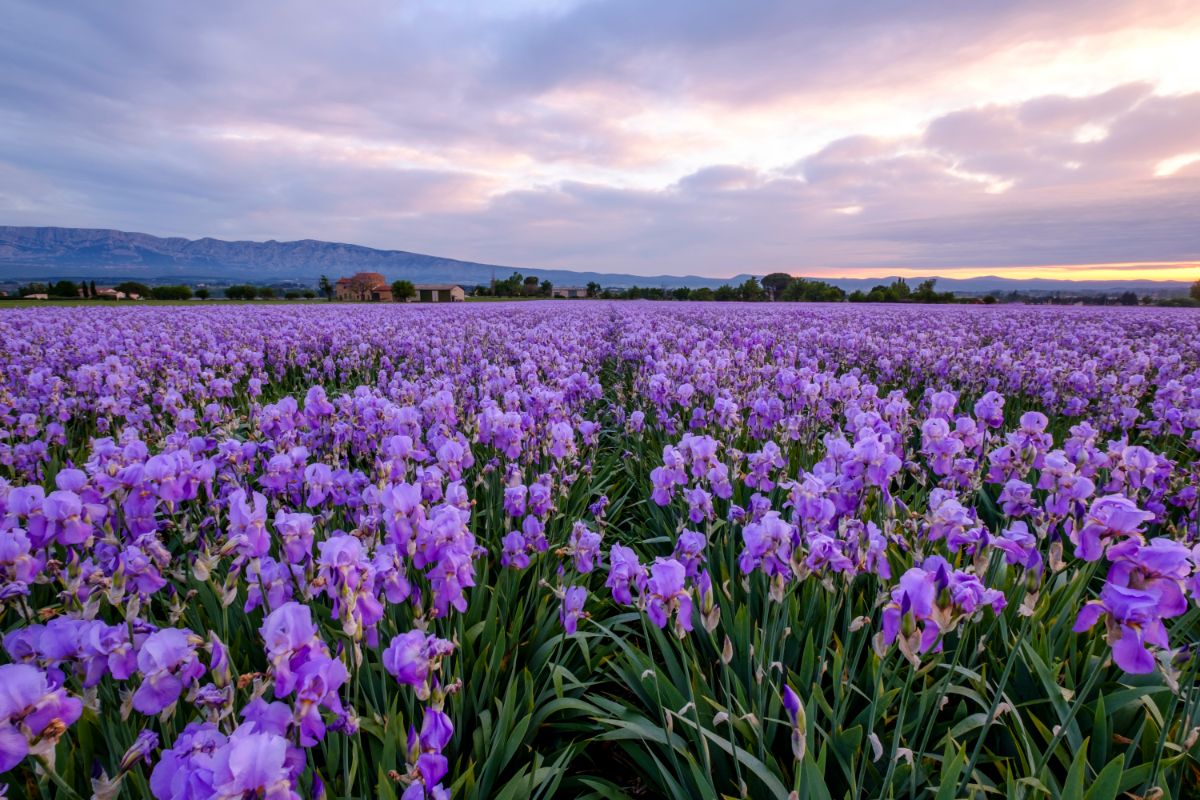
The iris stands out with its unique and easily recognizable flower. The iris is not just one species, but a genus comprising of 260 to 300 different species. Its six lobes make it stand out, with some petals standing upright while others droop downwards. The downwards-facing petals may display prominent veins, and the color may vary. The delicate petals add to the overall graceful appearance that makes the iris a favorite in gardens. You can find iris bulbs or rhizomes for purchase at your local garden store depending on the season. However, if you are a passionate lover of irises and want to explore the full range of cultivars, you should consider visiting specialty shops online. Irises thrive in well-draining, fertile soil, and require full to partial sun, with full sun being the best. They grow in zones 3-9 and bloom from spring through summer, reaching an expected height of up to 3 feet.
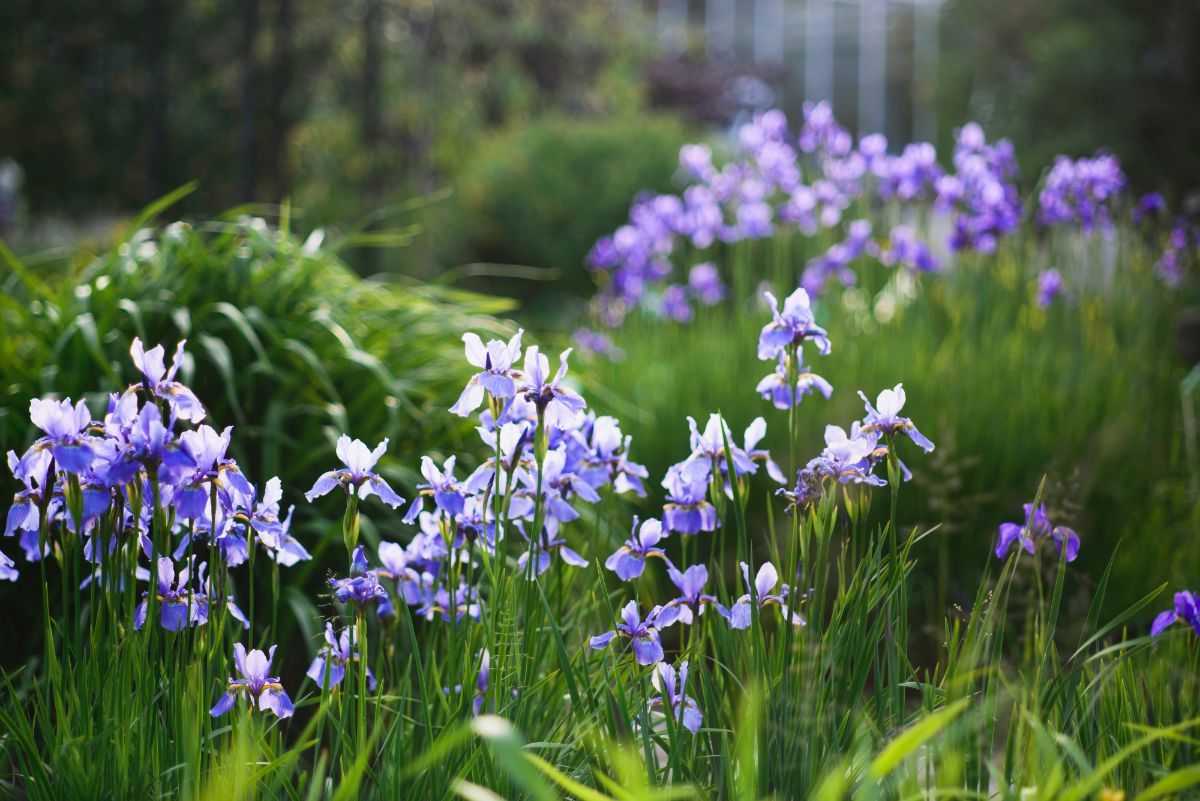
Irises are a versatile flower that can thrive in various climates. Although most species of irises originate from Asia or Europe, they have grown in popularity worldwide due to their adaptability. Irises come in a diverse range of colors, including white, yellow, pink, red, bronze, and the iconic bluish-purple hue. Plus, irises are low maintenance, requiring only mulch during frosty winters and little water throughout the year. Unlike other bulbs, irises don’t need to be overwintered, making them an easy addition to any garden. Propagating irises is also uncomplicated, and growing them from seed is easier than with most plants. Ultimately, irises add a classic touch of beauty to any garden, and their unique appearance makes them stand out. With all these benefits, it’s no wonder why iris landscaping has become so popular!
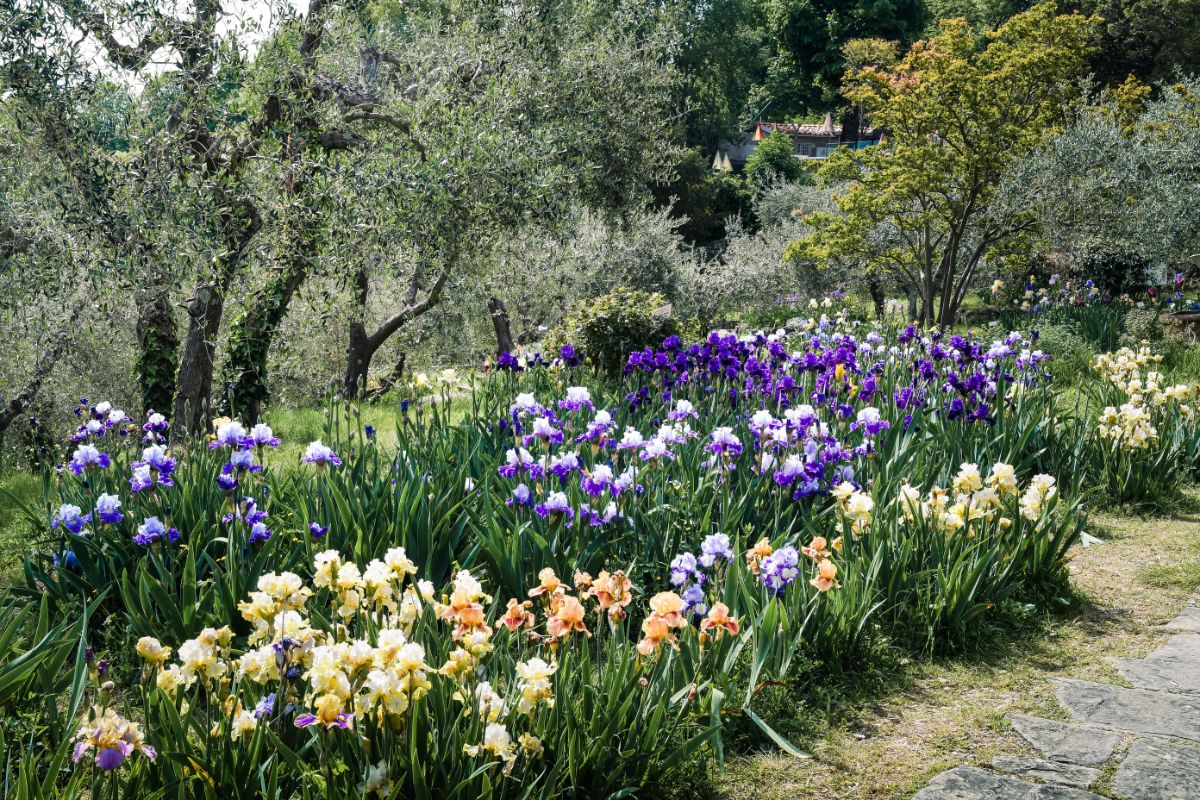
With such a vast range of irises available, you can effortlessly add color and allure to your garden by incorporating this flower. Here are a couple of ideas for using irises in your outdoor space:
Create an Iris Bed: Gardening experts suggest growing irises in a dedicated bed. A bunch of these flowers together creates an awe-inspiring sight, and they tend to thrive when grown in isolation.
Plant them Along a Fence: Irises are the perfect height for planting alongside fences. If your fence is unattractive, irises can help hide it, or if the fence looks good, they’ll frame the top of it elegantly.
Use them in Rock Gardens: It’s surprising but irises can grow quite well in rock gardens, bringing a unique burst of color and texture to enhance these areas.
Recommended Types of Irises
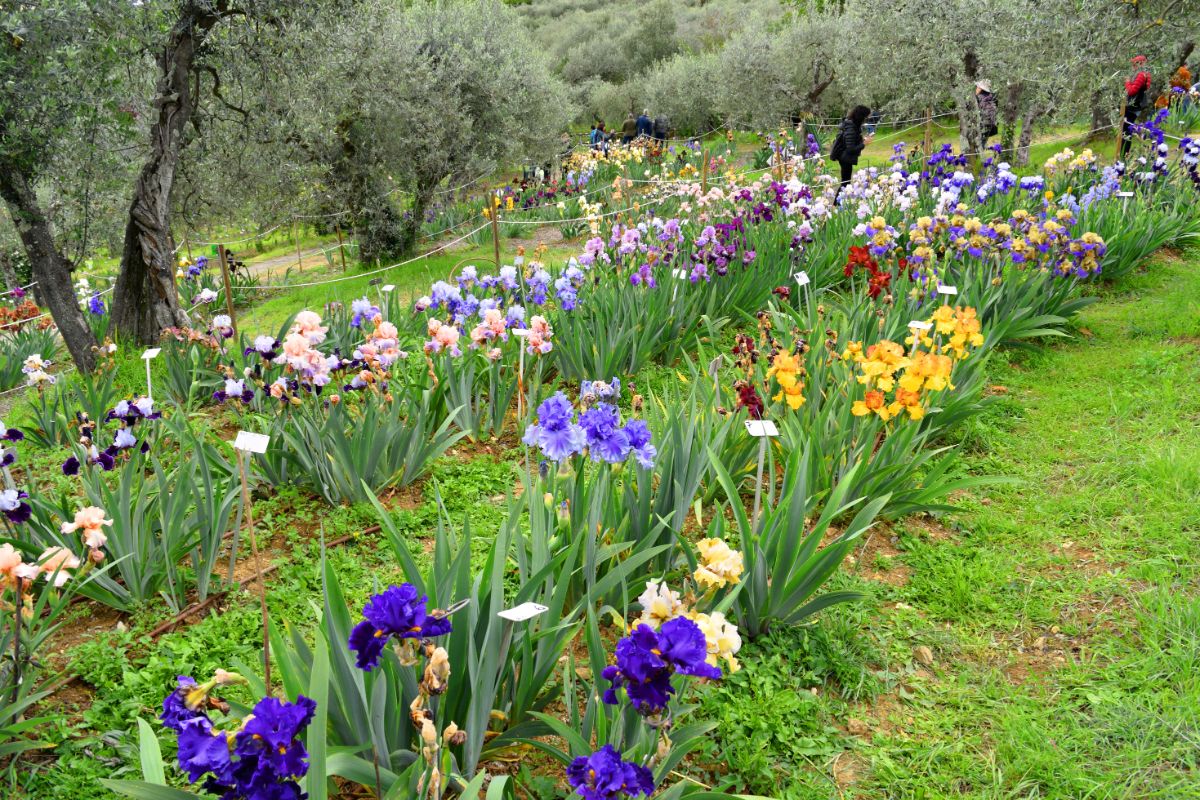
Why limit yourself to just one color or variety of iris when there are so many stunning options available? Check out these beautiful cultivars that you can plant in your garden. There’s Best Bet, with its bluish purple flowers that feature deep purple lower petals and light lavender upper petals. Gala Madrid boasts yellow and purple-red petals resembling a sunrise or sunset and won the 1971 American Iris Society Award of Merit. For white flowers, try Gull’s Wings, a popular choice with large petals and disease resistance. Obsidian is a striking deep purple, almost black color that contrasts beautifully with Gull’s Wings. Ocelot features deep maroon lower petals and contrasting light upper petals. Sorbonne has upper petals in a deep blackish maroon and lower petals with vivid yellow and veined appearance. Gulfport has enchanting white falls with purple edges and bright orangey-reddish beards. Eleanor Roosevelt is a royal purple color with medium purple upper petals that rebloom twice a season in spring and autumn. Sunfisher has vibrant yellow petals that look like they’ve captured sunlight. Bighorn has deep maroon petals with narrow white edges and orangey bright beards. Bear’s Ears has apricot-colored petals with dark purplish veins and deeper orange beards. Baby Charger is an unusual type with yellow petals and striking blue beards. Muscle Shoals has white ruffled petals on top and deep magenta falls below. Niagara Mist has a soft, cool lavender hue with ruffled petals that are darker toward the center and lighter around the edges. Paradise Valley offers gentle but eye-catching contrast with soft white top petals and peachy fall petals. Glamazon brings tropical hues with pinkish ruffled falls, bluish signals, and peachy standards. Dame de Coeur has reddish-hued petals with warmer orangey tones and cooler purplish tones. Concertina has pale pink standards and creamy falls with reddish veins and vivid purple beards. City Lights has deep bluish-purple blooms with white patches in the middle resembling city lights against a nocturnal sky. Sharp Dressed Boy is a dwarf cultivar with purple petals that darken toward the middle of the falls, setting off bright orangey beards. These stunning cultivars only scratch the surface of the many options available. You can order iris flowers online to bring grace and beauty to your garden. Irises bloom during spring and summer and can last for varying lengths of time depending on the cultivar.
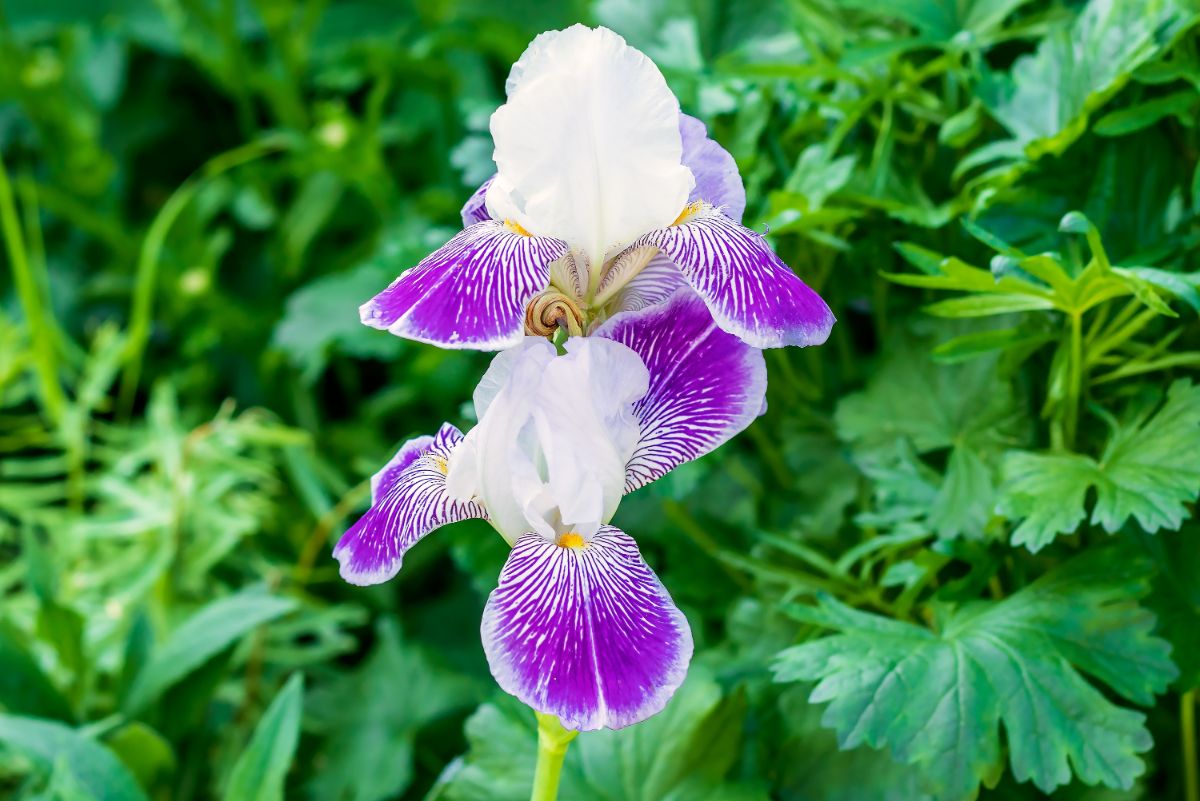
To lengthen the bloom time of irises, consider planting multiple cultivars of this unique perennial. Each individual iris typically blooms for just a couple of weeks each year and deadheading will not produce a second flower (except for re-blooming varieties). Therefore, planting a combination of early and late blooming cultivars will allow you to enjoy irises in your garden for a longer period. To successfully grow irises, it is essential to plant them in the right conditions. It’s best to plant them when nighttime temperatures have dropped to 40-50 degrees Fahrenheit (around August-September) to allow them to establish before cold weather sets in. If you missed the fall planting window, you can try planting in spring or summer. Irises prefer direct sunlight and do best in well-draining soil. With these optimal growing conditions, you can enjoy the beauty of irises in your garden for as long as possible.
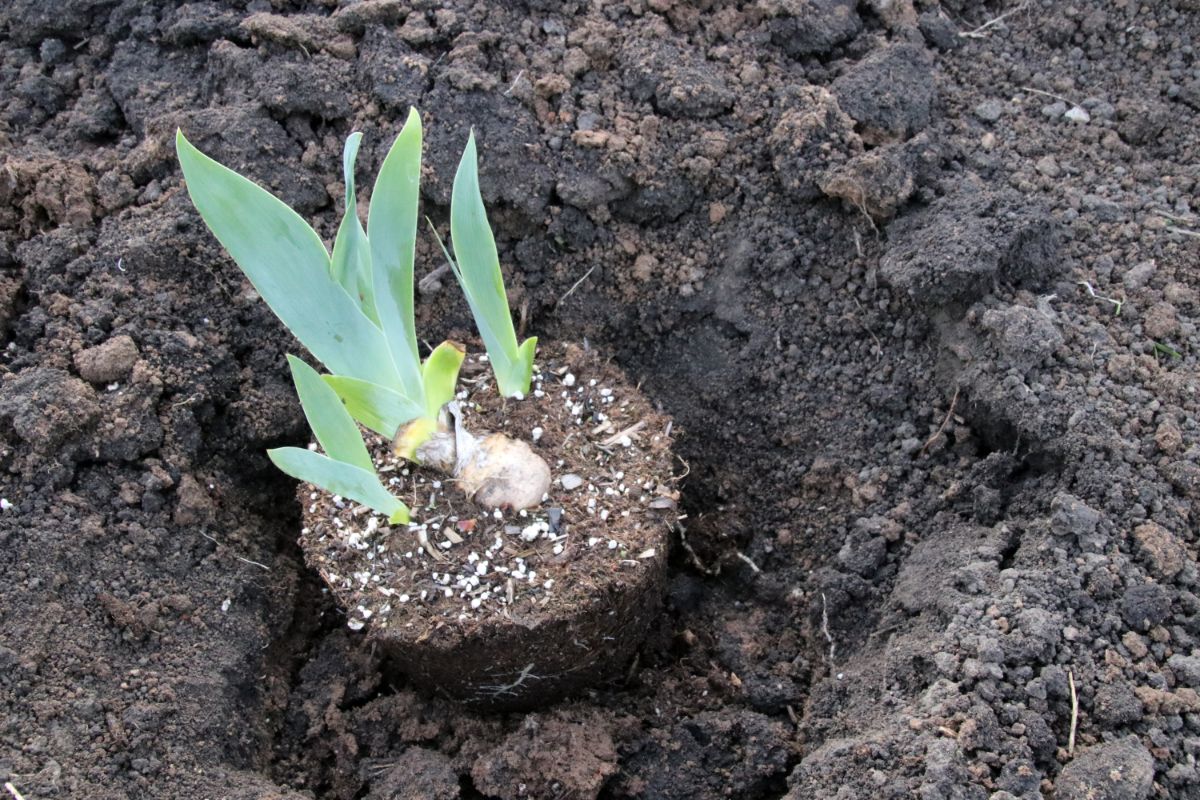
Before planting irises, it is important to ensure that your soil is suitable for their growth. If you have heavy soil, which can hinder drainage and moisture retention, it is best to amend it with organic matter such as hummus, sand, or compost. In the event that your efforts to improve the soil quality are not enough, raised garden beds filled with appropriate soil may be a viable alternative. In terms of pH, irises prefer neutral to slightly acidic soil, so aim for around 6.8. Additionally, it is important to provide sufficient water for your irises to thrive, but be careful not to over-water them.
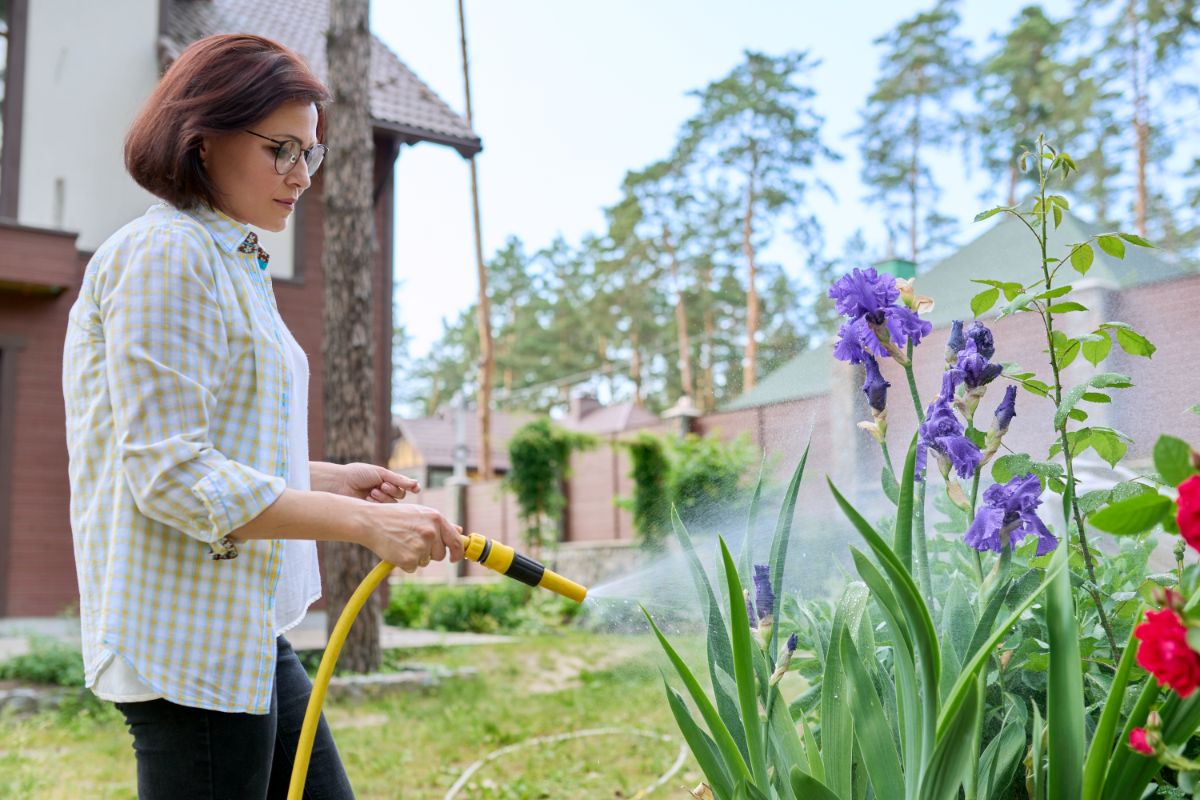
To ensure the proper growth of irises, it is recommended to water them less frequently but more deeply. Depending on your climate and soil, newly set iris plants require moisture to help establish their root systems. To avoid over-watering, deep watering at long intervals is preferred over frequent shallow waterings. Once established, irises typically do not need to be watered unless you live in an arid area or experience extended dry spells. During these dry spells, a good deep watering every 3 to 4 weeks is necessary, depending on the temperature. Although irises require extra water early in spring and during fall and winter, these seasons typically bring more precipitation, so additional watering is usually unnecessary unless it is unusually dry. Fortunately, watering irises does not require much effort. After understanding how much sun and water irises need and what type of soil suits them, you are now ready to plant them. While irises can be grown from seeds, they are typically cultivated from rhizomes or bulbs. In this guide, we will provide instructions for planting bulbs or rhizomes in containers or garden beds and offer some tips on growing iris flowers from seeds.
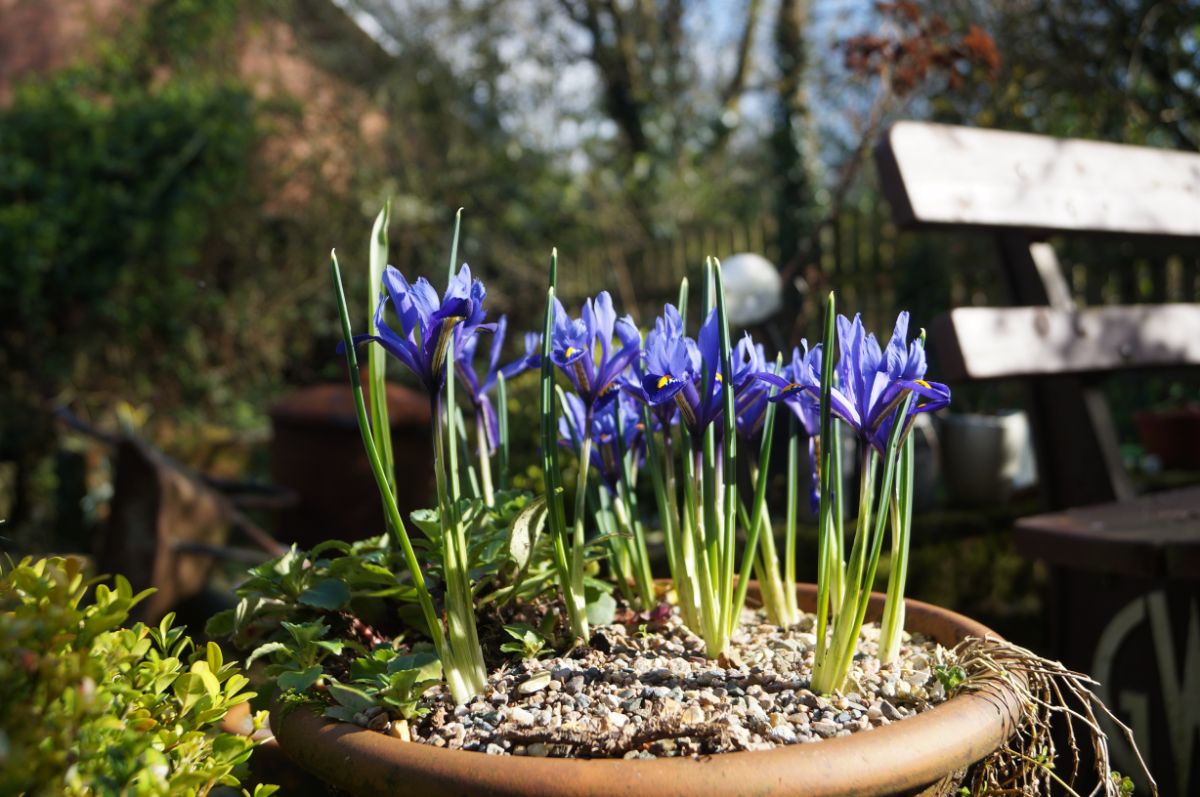
Having irises in a container can add a touch of elegance to any space. To start, choose an appropriate pot size based on the type of iris you’re planting. If it’s a dwarf iris, get a container that’s around six to eight inches in size. But, if you’re planting a larger iris, like a tall bearded iris, opt for a container that’s at least a foot. Make sure to pick a container with drainage holes.
Add potting soil to your container before making a hole and planting the iris bulb or rhizome. Don’t fully cover the top of the rhizome with soil, and water it well after planting. Provide extra water as the plant establishes and then reduce watering. Going forward, water the potted iris from the bottom and avoid overwatering. Check the top 2-3 inches of soil to determine if the plant needs watering.
If you’re keeping irises in containers permanently, make sure to divide them when needed. However, irises are often planted in pots to start them off before moving them to garden beds. To do this, leave the plants in the pots until October and prepare the garden bed. One tap with a trowel will loosen the soil and root ball, and a hole about four inches deep should be dug. Add alfalfa pellets or balanced fertilizer to the hole before planting and water the plant.
Although containers can be used as permanent homes for irises, it’s best to use them for starting them off before moving them to garden beds. Dense planting and stress caused by container growth may cause them to bloom less in the following season. Discard the irises after blooming and choose fresh bulbs to plant in the fall.
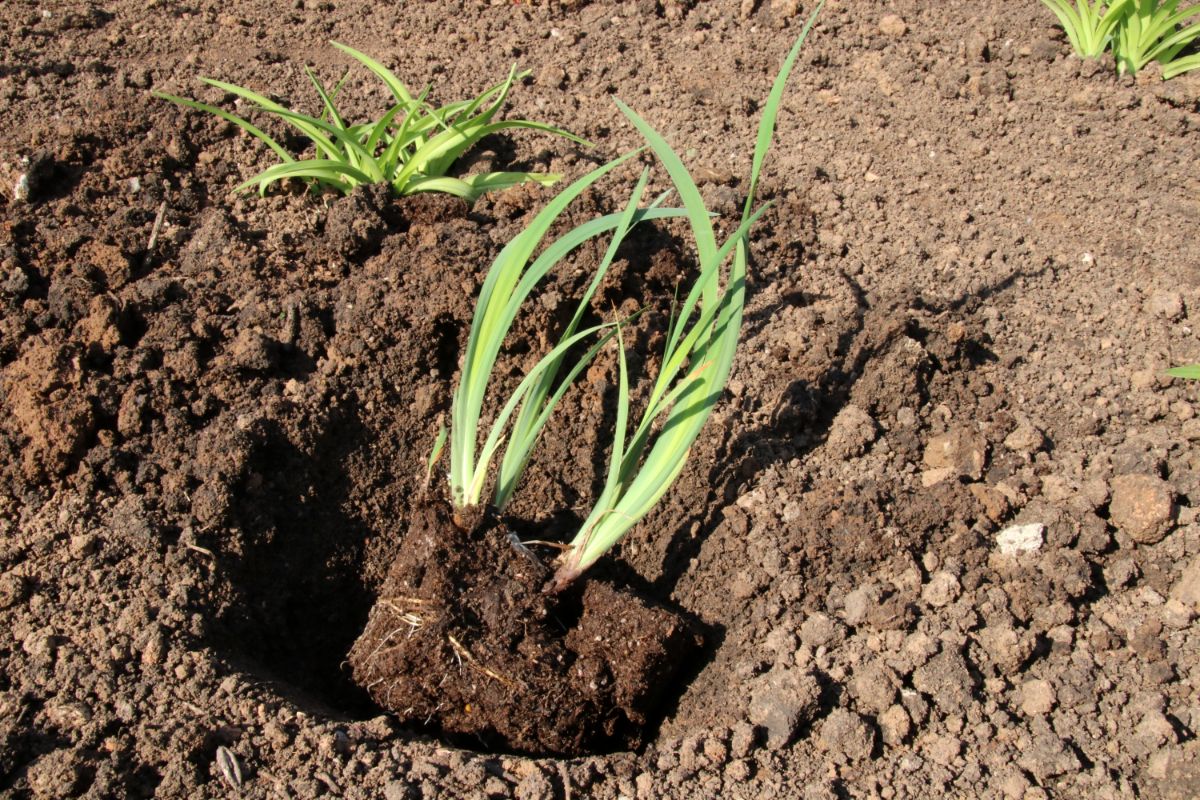
Irises, being hardy perennials, have a long life span in the ground. If you’re not using containers and opting to plant the rhizomes directly in your garden beds, here are some steps you can follow. First, choose a sunny spot. Get the soil ready by adding dolomite or lime if it’s acidic. Additionally, compost can be mixed in to improve soil drainage and nutrition. However, it’s advisable to avoid bone meal-based fertilizer, as pests may be attracted to it and harm the rhizomes. Dig holes for the iris rhizomes, with each hole being about 10 inches wide and 4 inches deep. Dwarf cultivars can be spaced around 3 inches apart, while larger cultivars require two feet of space around each iris. Although this may seem like a lot of space, it’s essential to prevent the irises from choking each other off. When planting, make sure to distribute the roots, backfill the soil, and leave the top of the rhizome exposed. After planting, water the irises well until they establish, and then maintain a regular watering schedule. Starting irises from seed is another option to consider.
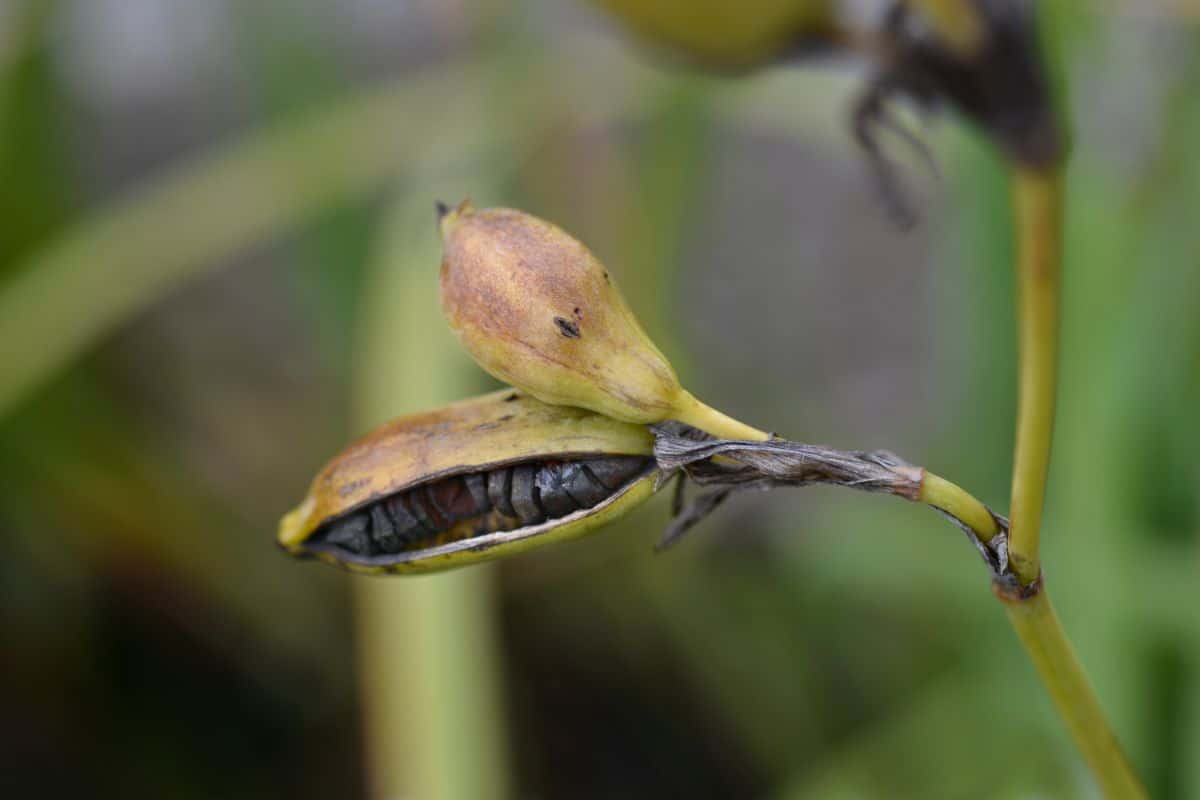
Expanding your iris garden doesn’t have to come with a hefty price tag. You can collect iris seeds from your existing plants for free and propagate them to create new ones. Luckily, starting irises from seed is easy compared to other plants. Simply harvest the seeds and dry them out for a few months. October is the ideal time to plant iris seeds, so be sure to cover them at a depth of ¾ inches and give each seed enough space. Keeping labels on where you plant the seeds is vital to avoid mistaking them for grass. Patience is key as the seeds will germinate in spring and should grow until they are several inches tall before transplanting. Additional watering may be necessary during their establishment period. Not all seeds will sprout, but leave them be as they may surprise you next spring. Note that irises grown from seeds won’t bloom in their first year, and their colors might not be predictable due to hybridization. Taking care of irises involve planting them in well-draining soil and ensuring they get enough sunlight.
To keep your irises thriving year after year, it is important to follow a few maintenance tips. While planting irises is easy, maintaining them may require some effort. To ensure proper growth and blooming, you need to know about fertilizing, mulching, pruning, and more.
When it comes to fertilizing irises, compost is ideal for adding richness to the soil during planting. However, bone meal is also great for irises. Nola’s Iris Garden suggests fertilizing irises with bone meal or super-phosphate and a light balanced fertilizer in early spring, about 6 to 8 weeks before bloom, and again after the blooms have gone. Avoid using anything high in nitrogen as it promotes rot problems.
In terms of mulching irises, summer mulching is unnecessary and can even be harmful as it disrupts airflow, which can lead to rot. However, if you get frost over the winter, you may need to mulch your irises to protect them from frost. Remember to remove the mulch after the last frost.
If your irises tend to flop over, you can check the depth of the rhizome and add soil around it or use twine to attach them to bamboo stakes. Be careful not to damage the rhizomes. If it has been a while since you divided and transplanted your irises, this could be a signal that it is time to do so. Irises are happiest in a sunny location, so if they are partially shaded, consider moving them to a spot with more direct sunlight.
Pruning irises involves deadheading and trimming. Deadheading helps promote reblooming and prevents the plant from putting energy into producing seeds. Trimming is necessary when the leaves turn yellow and dry. Overall, with a little care, your irises can thrive year after year.
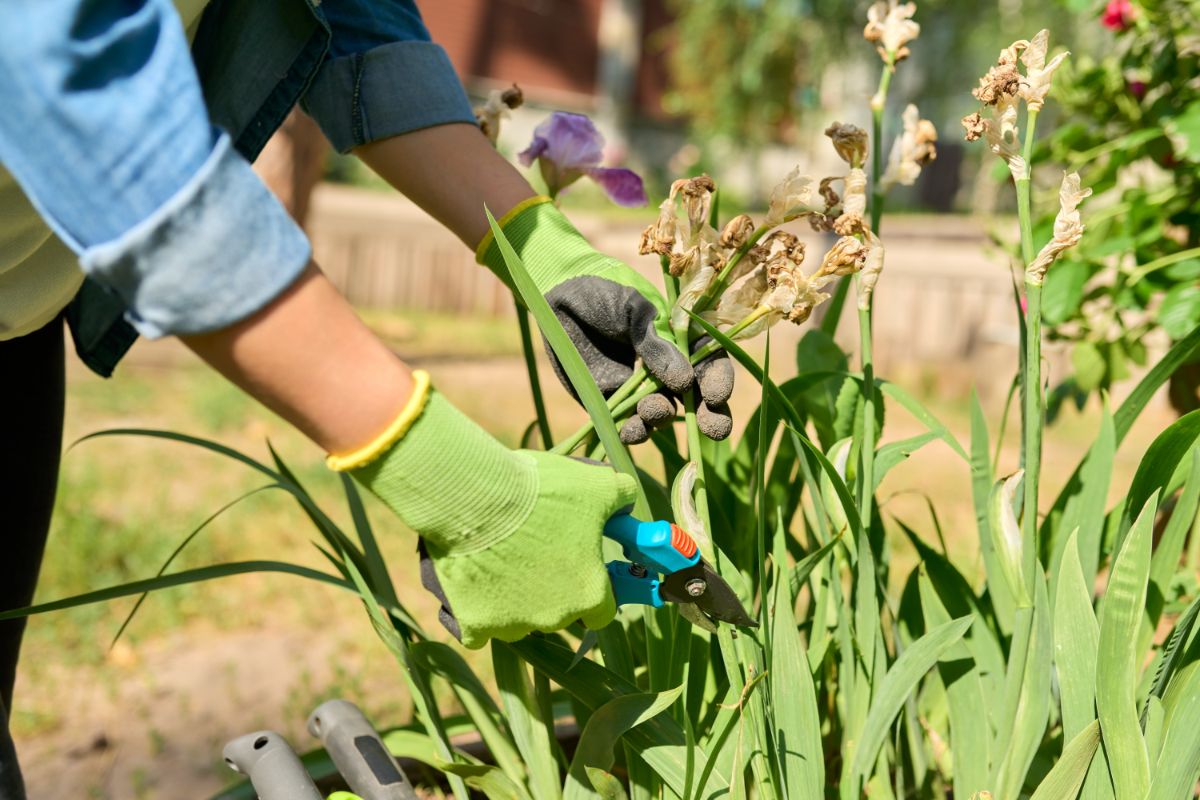
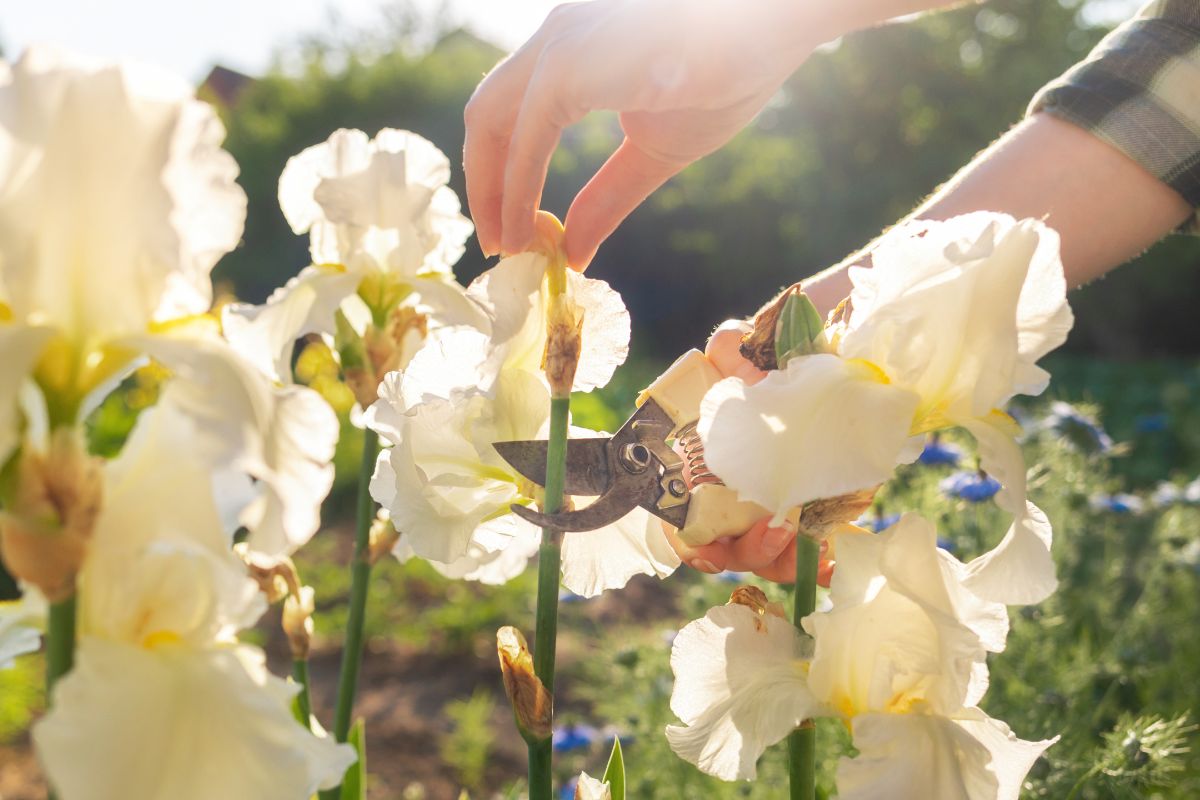
Deadheading irises is only necessary if you want to tidy up your flower bed or prevent them from producing seeds. Some varieties of irises only bloom once and do not require deadheading, but it can still be done for aesthetic purposes. You can easily remove wilted blossoms with shears. For re-blooming irises, deadheading will encourage another bloom before the end of the season. Late summer or fall is the best time to cut back your irises, leaving a few inches above the soil. Trimming them back or deadheading can also help the plant prepare for the next bloom season by conserving energy that would otherwise be used to make seeds. If you need to divide or transplant irises, it’s best to do so in the late summer or early fall when they are less likely to go into shock.
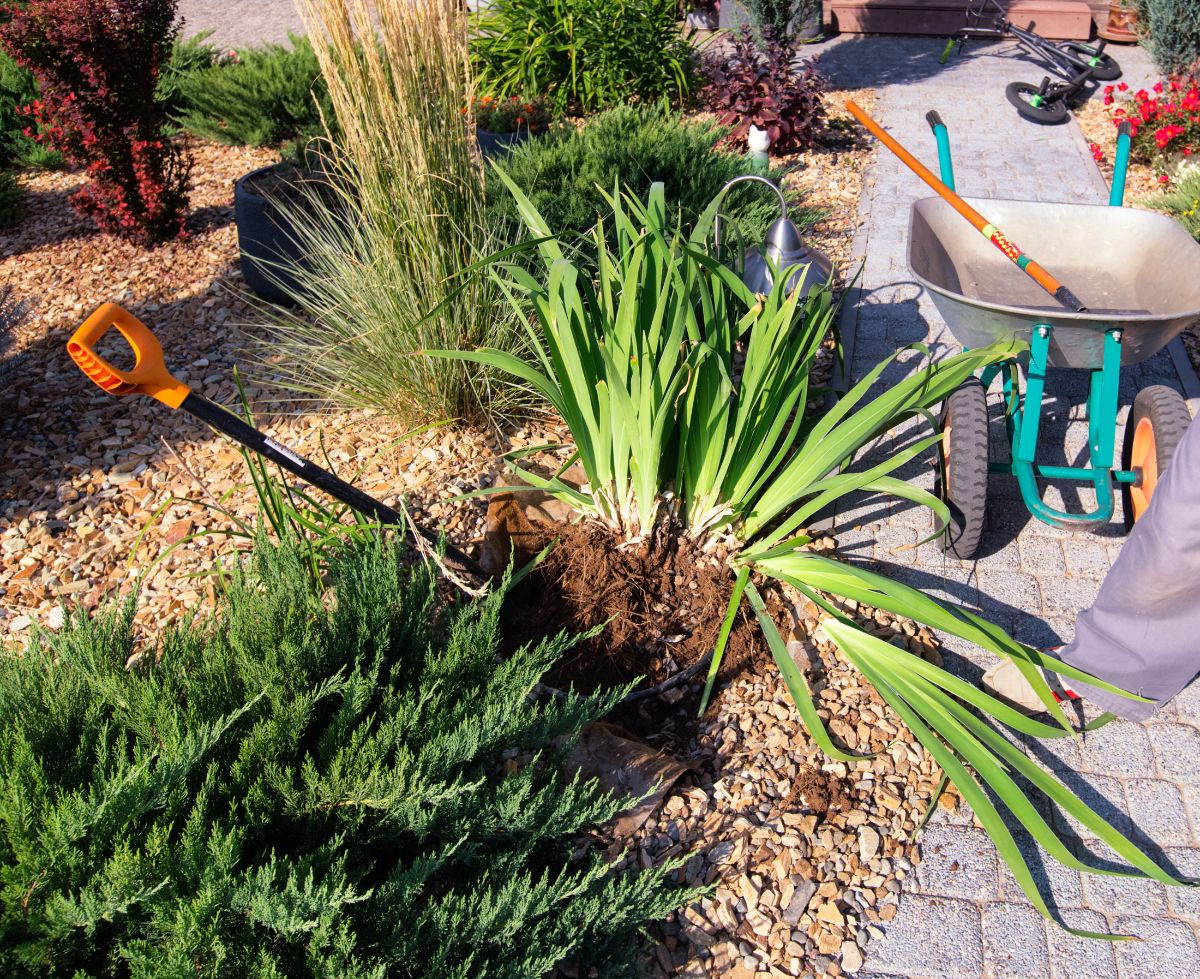
To maintain the strength of your irises, dividing them is a useful technique. When irises grow bigger than necessary, they can become untidy and droop. However, separating and transplanting them can aid in their growth. The approach for dividing your irises will depend on the type you have. Here are instructions for dividing and transplanting bearded irises. In late summer, trim your irises by two-thirds. Using a spade, dig down in a circle around the iris while being careful not to harm the roots. Once you can get under the plant, pick it up out of the ground. Remove any loose dirt, then cautiously separate the rhizomes by hand or with a knife that has been disinfected. Eliminate any rhizomes that are no longer viable due to age, insects, or rotting. Dig holes and plant healthy rhizomes in their new locations, watering them well. While your transplanted irises are establishing in their new spots, continue providing additional water as needed. Typically, it is necessary to divide irises every three to five years. Are there any diseases or pests that irises are susceptible to?
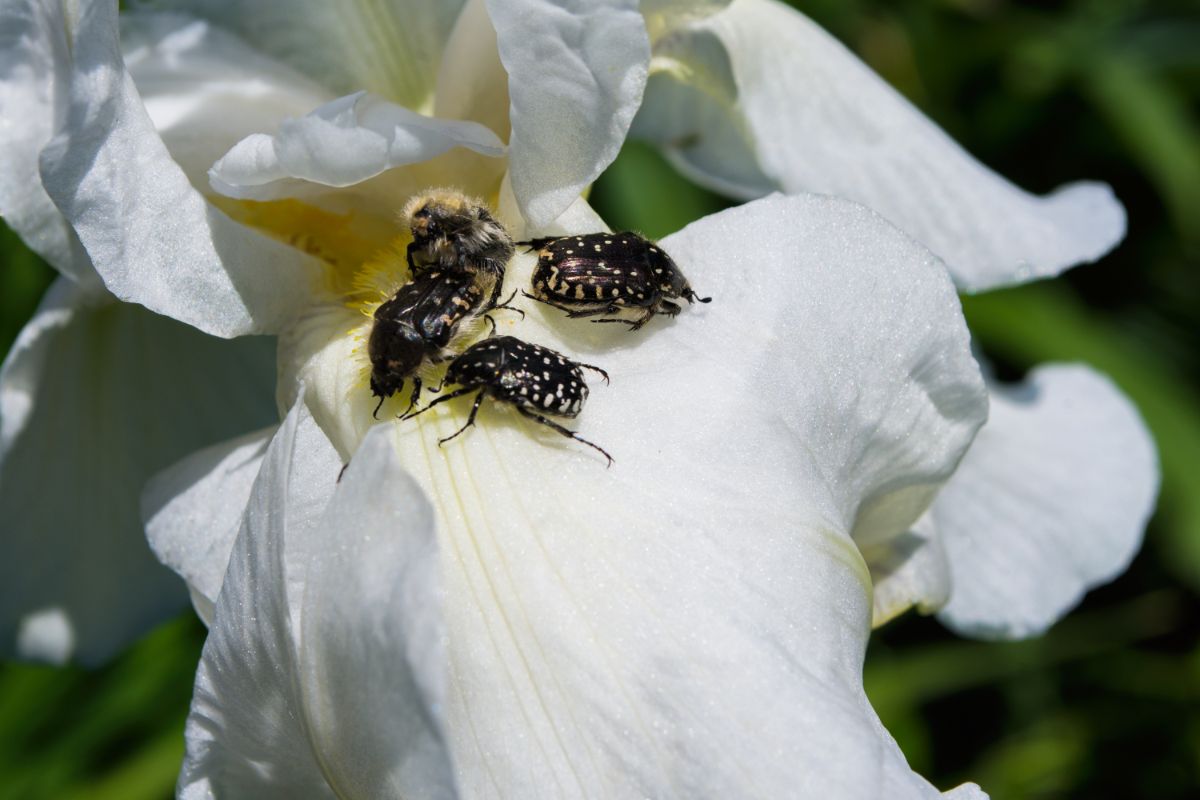
When taking care of irises, it’s important to protect them from pests and diseases that can harm these graceful perennials. There are several diseases that can affect irises, such as bacterial leaf plight, botrytis rhizome rot, crown rot, leaf spot, ink spot, soft rot, and viruses. To treat these diseases, you can refer to a list of symptoms and instructions for treatment from PennState Extension. The most problematic pest for irises is the iris borer caterpillar, which invades irises through their leaves and creates tunnels until it reaches the rhizome. To prevent issues with iris borers, you can trim and clean your iris plants in autumn and apply insecticides like acephate or spinosad. Timing is crucial when applying insecticides to be successful in getting rid of pests. Other pests that can infest irises include aphids, whiteflies, thrips, snails, and slugs. However, irises are deer- and rabbit-resistant.
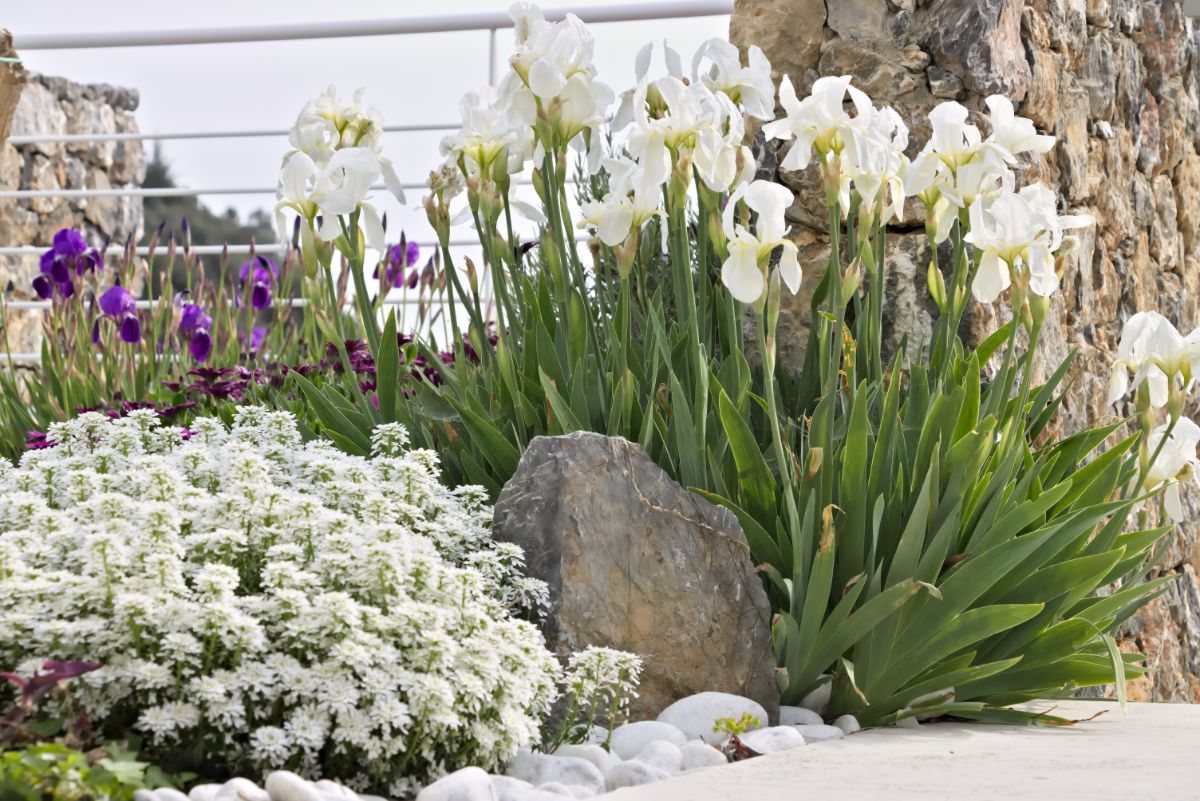
Here are some suggestions for flowers that complement irises: Lobelia, Baptisia, and Hollyhock. Irises are prone to being eaten by iris borers, slugs, snails, or other insects. A glossary of iris terminology is available for those interested in understanding the different parts of an iris. While irises are available in many colors, they do not come in true “fire engine red.” Irises can grow from bulbs or rhizomes and are frost-hardy. Rhizomes are a type of bulb, but not a true bulb. Irises multiply both through new rhizome growth and seeds. The color of an iris does not change. If an iris smells bad, it may have a disease. Irises symbolize wisdom, faith, hope, or bravery and are perennials that bloom year after year.


